
Track conversions with EZmob Pixel
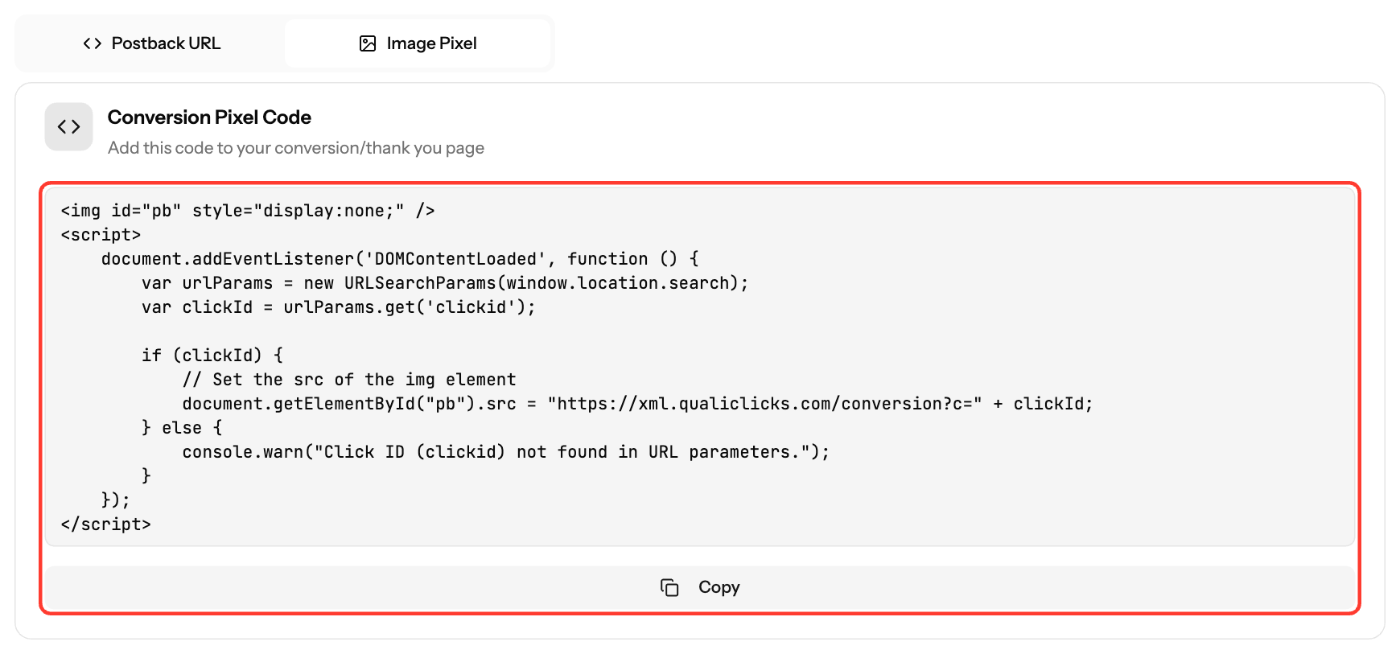
If you can't send a server postback, add the EZmob image pixel to the page that confirms a conversion (for example, a thank-you page). Copy it from Postbacks → Image Pixel.
Steps
- In the sidebar, click Postbacks and open the Image Pixel tab.
- Add
clickid={conversion}to your campaign's Destination URL, for examplehttps://yoursite.com/?clickid={conversion}. The parameter name must beclickid, because the pixel reads it from the page URL. - Paste the pixel code inside the
<body>of the page that loads only after a successful conversion. - Make sure that page's URL still contains
clickid. If the conversion happens on a later page, pass theclickidparameter along to it. - Complete a test conversion from a live ad click. In your browser's developer tools (Network tab), check for a request to
xml.qualiclicks.com/conversion?c=.... - Check the Conversions column under Metrics.
Pixel code
<img id="pb" style="display:none;" />
<script>
    document.addEventListener('DOMContentLoaded', function () {
        var urlParams = new URLSearchParams(window.location.search);
        var clickId = urlParams.get('clickid');

        if (clickId) {
            document.getElementById("pb").src = "https://xml.qualiclicks.com/conversion?c=" + clickId;
        } else {
            console.warn("Click ID (clickid) not found in URL parameters.");
        }
    });
</script>
Good to know
- Decide first what counts as a conversion (registration, deposit, purchase) and place the pixel only on the page that confirms it.
- Reloading the confirmation page can fire the pixel again. Use a postback if you need exactly one call per conversion.
- The pixel sends no conversion value. To report Conv. Value, use the postback URL.
Screenshots
Related articles
- How to Track Conversions with EZmob's Postback
- Tracking Tokens and Parameters Explained
- Troubleshooting Conversion Tracking Issues
Updated on: 01/10/2026
Thank you!