
How to add an Ad Tag to <head> section in WordPress
Paste your EZmob code into the <head> section of your WordPress site using a plugin, a child theme or the wp_head hook. Note: wordpress.com addresses can't be validated. Only a site on a custom domain can be validated and receive premium demand.
Banner and Video tags don't go in the
<head>. Paste them inside the<body>, where the ad should appear: in WordPress, add a Custom HTML block or widget at that spot. The<head>steps below are for Pop, In-Page and the Header Bidding script.
Copy your ad code
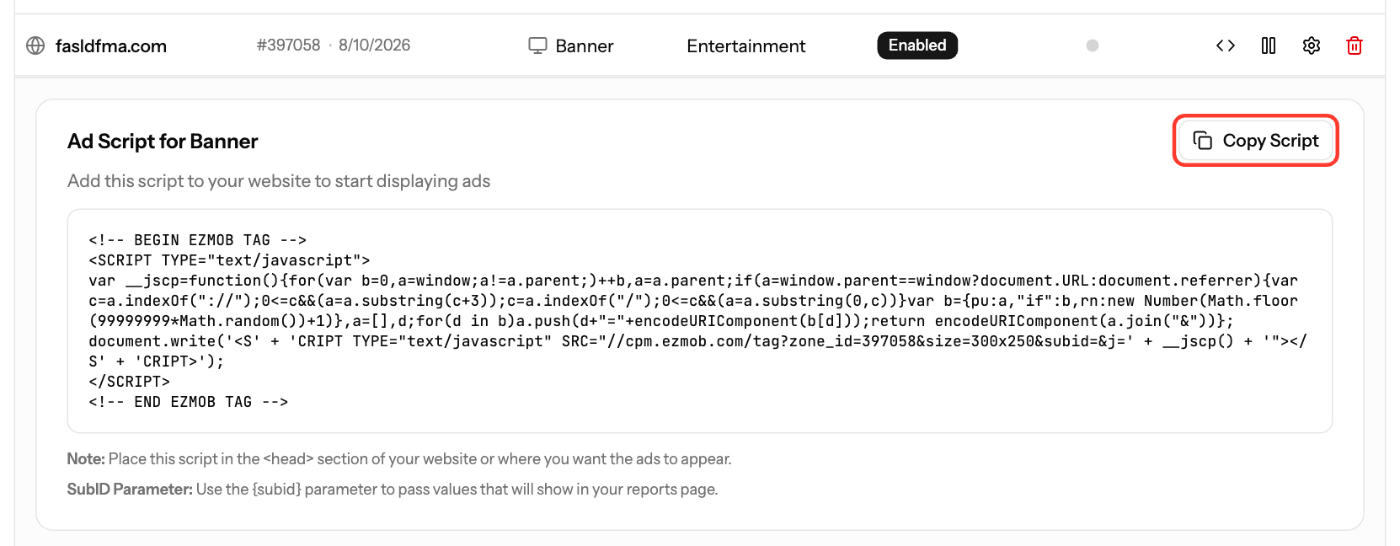
- In the EZmob dashboard, open Sites & Placements → Your Placements.
- Click the code icon (View Script) on the placement.
- Click Copy Script.
Option 1: Use a plugin (easiest)
- Install any plugin that inserts code into the site header.
- Paste the code into the plugin's header (
<head>) field for all pages. - Save.
Option 2: Edit a child theme
- Open your child theme's
header.php. Don't edit the parent theme, or updates will remove your change. - Paste the code just above
</head>. - Save the file.
Option 3: Use the wp_head hook
Add this to the end of your theme's functions.php, replacing the comment with your code:
function ezmob_insert_header() {
    ?>
    <!-- Paste your EZmob code here -->
    <?php
}
add_action( 'wp_head', 'ezmob_insert_header' );
Use any of these options to add your site's Validation Code too, then click Validate in EZmob.
Header Bidding banner
The Header Bidding code ends with <div id="container1"></div>, which marks where the banner shows.
- Add the code without that
<div>to<head>, as described above. - In WordPress, go to Appearance → Widgets.
- Add a Custom HTML widget to your sidebar, paste
<div id="container1"></div>and save.
Screenshots
- Screenshot: WordPress Appearance → Widgets, Custom HTML widget with the container div
Related articles
- How to Create a Placement and Obtain Your Ad Tag
- How to Add Your Site to EZmob for Monetization
- Header bidding monetization with EZmob
- ads.txt for Publishers
- How to add an ad tag to section in Blogger platform
Updated on: 11/10/2026
Thank you!