
Header bidding monetization with EZmob
Header Bidding lets demand bid on your banner slot in real time through Prebid.js before the ad shows. It's self-serve: create a Header Bidding placement and paste the tag it generates.
Create the placement
- Open Sites & Placements and click Create New Placement.
- Under Select Website, choose the site where the tag will run and click Next. If it isn't listed, add it first with Add Website.
- Select Header Bidding and click Next.
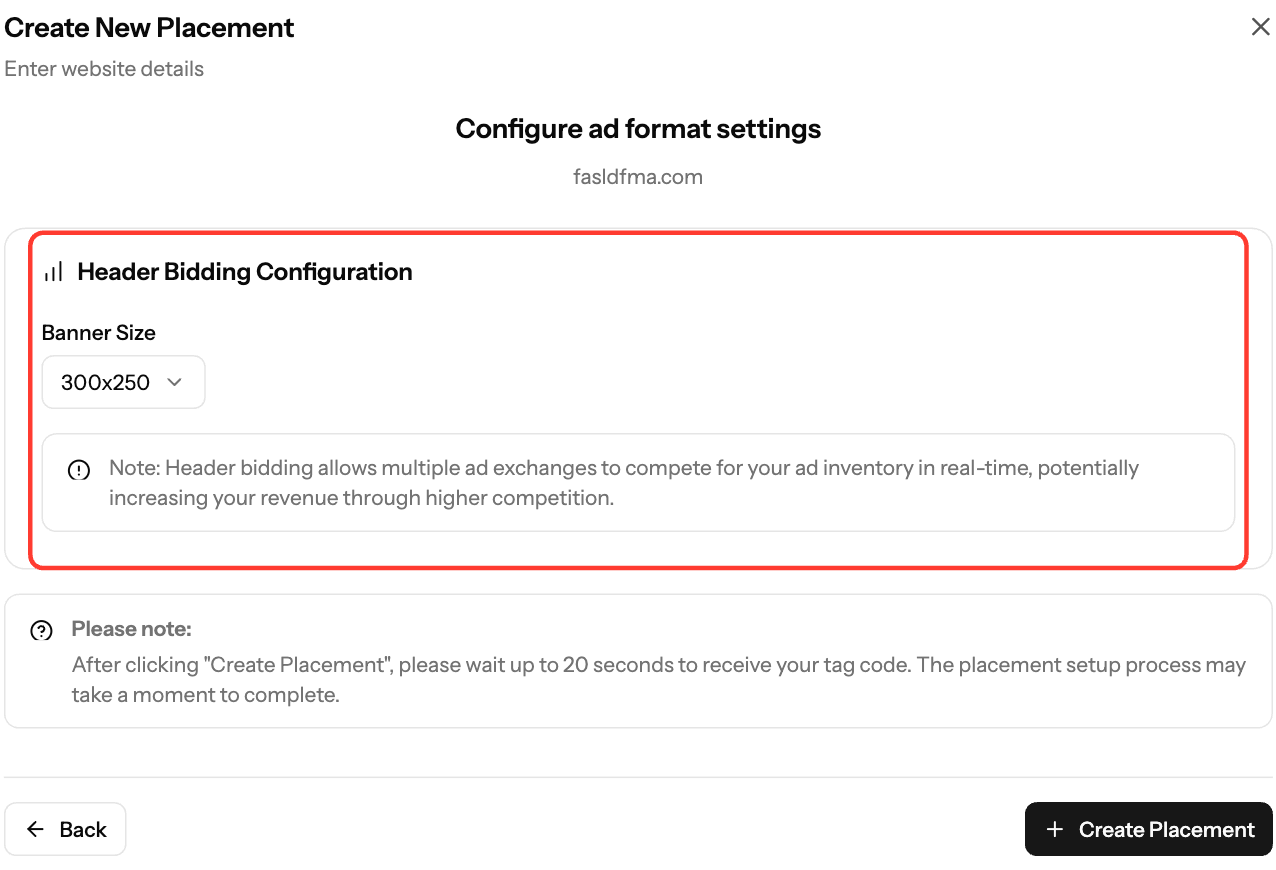
- Choose the Banner Size: 300x50, 300x100, 300x250 (default), 320x50, 320x480, 728x90, 160x600, 120x600 or 468x60.
- Click Create Placement. Your tag can take up to 20 seconds to appear.
Validate your site as well. Unvalidated sites don't receive premium demand.
Install the tag
- On the Your Placements tab, click the code icon (View Script) on the placement.
- Click Copy Script.
- Paste the whole tag where the banner should appear, for example at the top of your sidebar.
The tag is one block. It loads Prebid.js, asks EZmob's adkernel bidder (host: 'cpm.ezmob.com') for a bid on your zone and size, and shows the winning ad in <div id="container1"></div>, which is part of the tag.
- You can change the container ID, but change it in the
code:line too. - For more than one banner on a page, create one placement per slot and give each one a unique container ID.
ads.txt
Add EZmob's lines to your site's ads.txt file. See ads.txt for Publishers.
How header bidding differs
- In the traditional waterfall, buyers are asked one after another, and the first one above the floor price wins.
- With header bidding, buyers bid at the same time and the highest bid wins.
Screenshots
- Screenshot: Placements tab, Header Bidding code view with Copy Script highlighted
Related articles
- ads.txt for Publishers
- How to Add Your Site to EZmob for Monetization
- How to Create a Placement and Obtain Your Ad Tag
- Troubleshooting Ads Not Showing on Your Site
Updated on: 01/10/2026
Thank you!